GStreamer Installation Guide
Shared guide index: lang.md
Overview
GStreamer is the runtime used when running the "Capture Card (GStreamer)" mode in CVM colorBot and is installed on the CVM machine (Sec PC). Installation is optional: if you use a capture card as your video source, installing GStreamer can improve capture quality and performance. This guide will help you install GStreamer on Windows.

Step 1: Download GStreamer Installer
- Download the GStreamer MSVC installer for Windows x64:
- Direct Download from Official Website: gstreamer-1.0-msvc-x86_64-1.28.0.exe
-
Official Website: https://gstreamer.freedesktop.org/download/#windows
-
The installer includes both runtime and development packages.
Step 2: Run the Installer and Select Installation Option
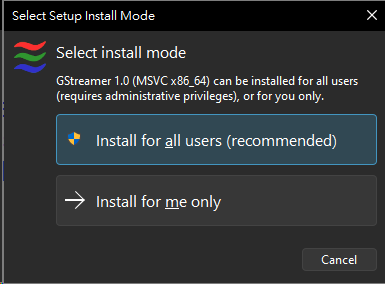
- Run the downloaded installer (
gstreamer-1.0-msvc-x86_64-1.28.0.exe). - In the installation options, select "Install for all user".
- Click
Nextto continue.
Step 3: Welcome Page
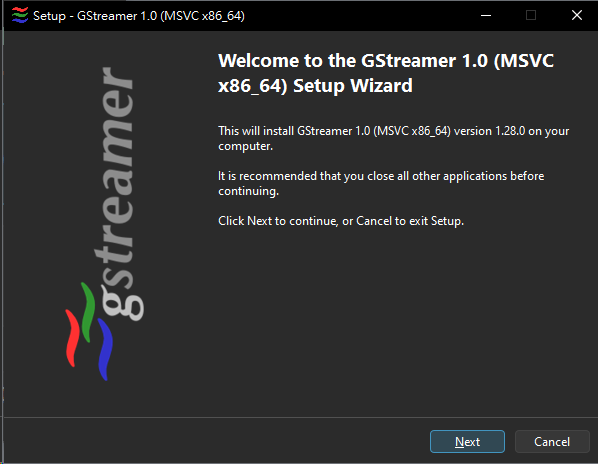
- Read the installer welcome message.
- Click
Nextto continue.
Step 4: Accept License Agreement
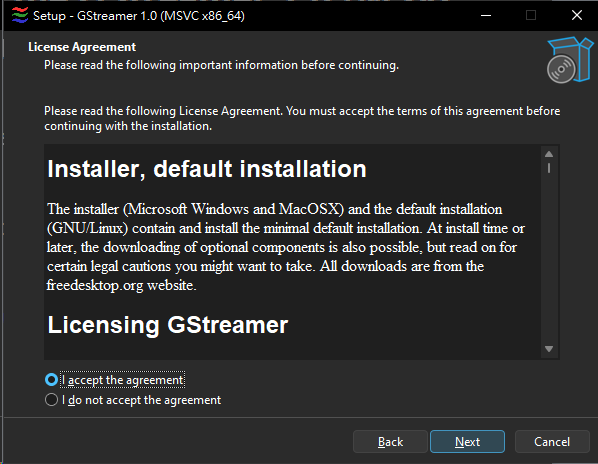
- Read the license agreement.
- Select "I accept the terms in the License Agreement".
- Click
Nextto continue.
Step 5: Choose Installation Type
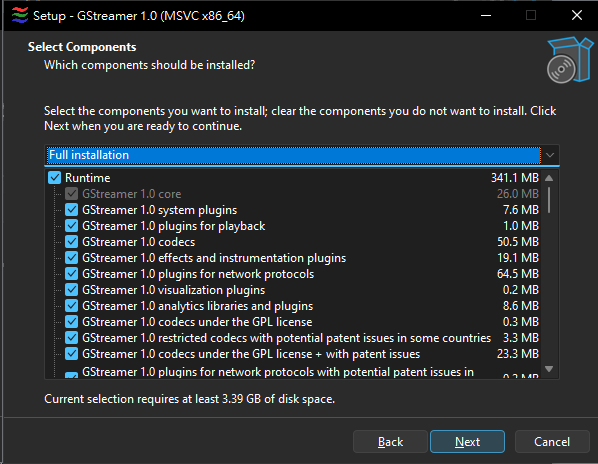
- Select "Complete" installation (recommended) to install all components, including runtime and development packages.
- Click
Nextto continue.
Step 6: Select Additional Components (Optional)
- Select additional components as needed.
- Click
Nextto continue.
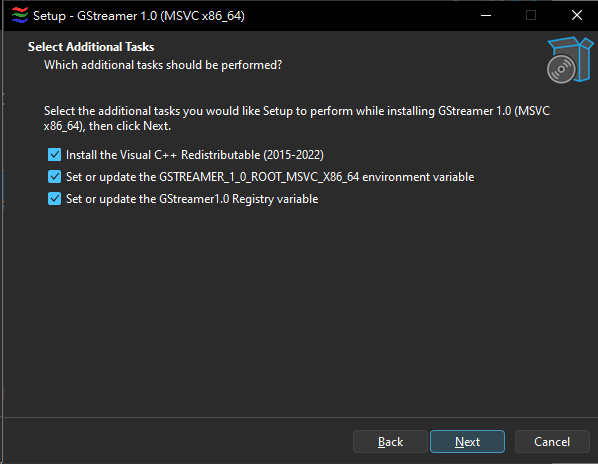
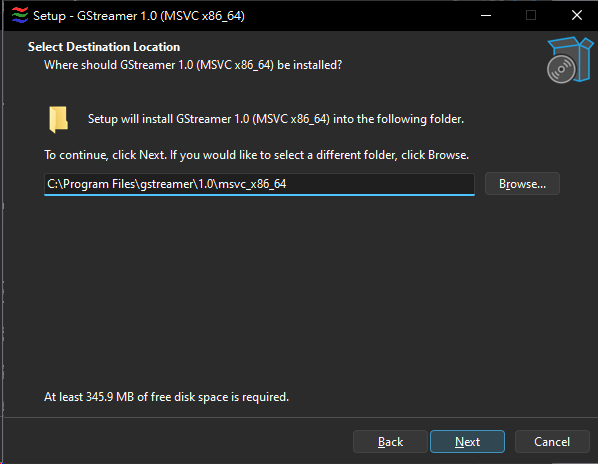
Step 7: Select Installation Directory
- Set the installation path to
C:\Program Files\gstreamer\1.0\msvc_x86_64\. - Do not change the installation directory - use the path above to ensure proper installation.
- Click
Nextto continue.
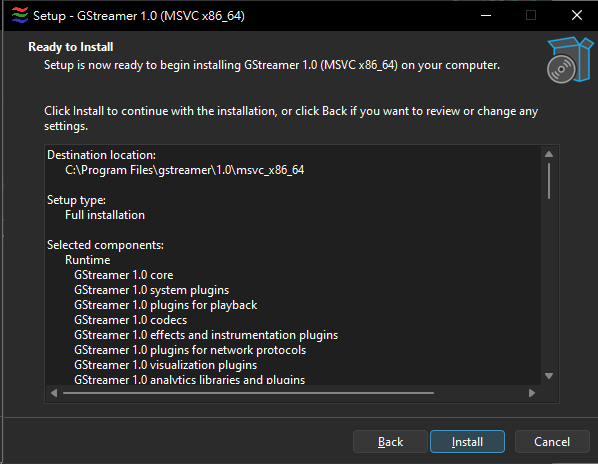
Step 8: Ready to Install
- Review the installation settings summary.
- Click
Installto begin installation when ready.
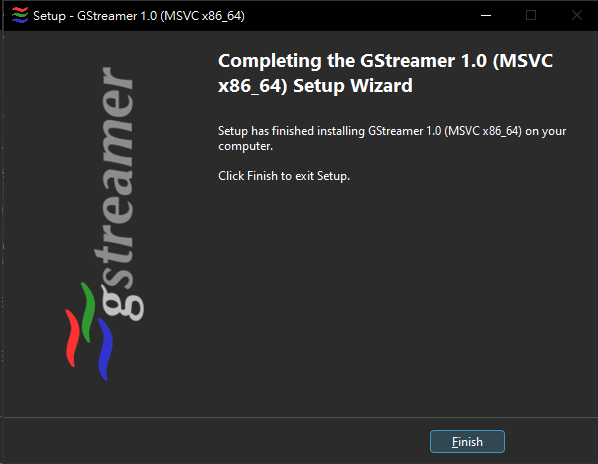
Step 9: Installation Complete
- Wait for the installation to complete. This may take a few minutes depending on your system.
- Once installation is complete, click
Finishto complete the installation. - The installer will automatically add GStreamer to your system PATH.
Step 10: Verify Installation
- Open a new Command Prompt or PowerShell window.
- Run the following command to verify GStreamer is installed:
gst-launch-1.0 --version
- You should see output similar to:
gst-launch-1.0 version 1.28.0
GStreamer 1.28.0
Step 11: Using GStreamer in CVM colorBot
- After installation, restart CVM colorBot if it's running.
- In the General tab, under Capture Controls, select "Capture Card (GStreamer)" from the Method dropdown.
- Configure your capture card settings (Device Index, Resolution, FPS, etc.).
- Click
CONNECTto start using GStreamer capture.
Troubleshooting
GStreamer Not Detected
If CVM colorBot cannot detect GStreamer:
- Check PATH: Ensure GStreamer is in your system PATH. The installer should add it automatically, but you may need to restart your computer.
- Manual PATH: If needed, add
C:\Program Files\gstreamer\1.0\msvc_x86_64\binto your system PATH manually. - Restart Application: Close and restart CVM colorBot after installation.
Installation Issues
- If the installer fails, try running it as Administrator.
- Ensure you have sufficient disk space (GStreamer requires several hundred MB).
- Check Windows Event Viewer for detailed error messages.
DLL Not Found Errors
- Ensure you downloaded the MSVC version (not MinGW) for best compatibility.
- Verify the installation path is correct.
- Try reinstalling if DLL errors persist.
Additional Resources
- GStreamer Official Documentation: https://gstreamer.freedesktop.org/documentation/
- GStreamer Windows Installation Guide: https://gstreamer.freedesktop.org/documentation/installing/on-windows.html