MAKCU Setup
Shared guide index: lang.md
Goal
Use MAKCU hardware backend in CVM. Standard MAKCU setups mainly move through Input API = Serial; for 3.8 left (firewall) firmware or future makxdV2 hardware, MakV2Binary is recommended (MakV2 is a compatibility option).
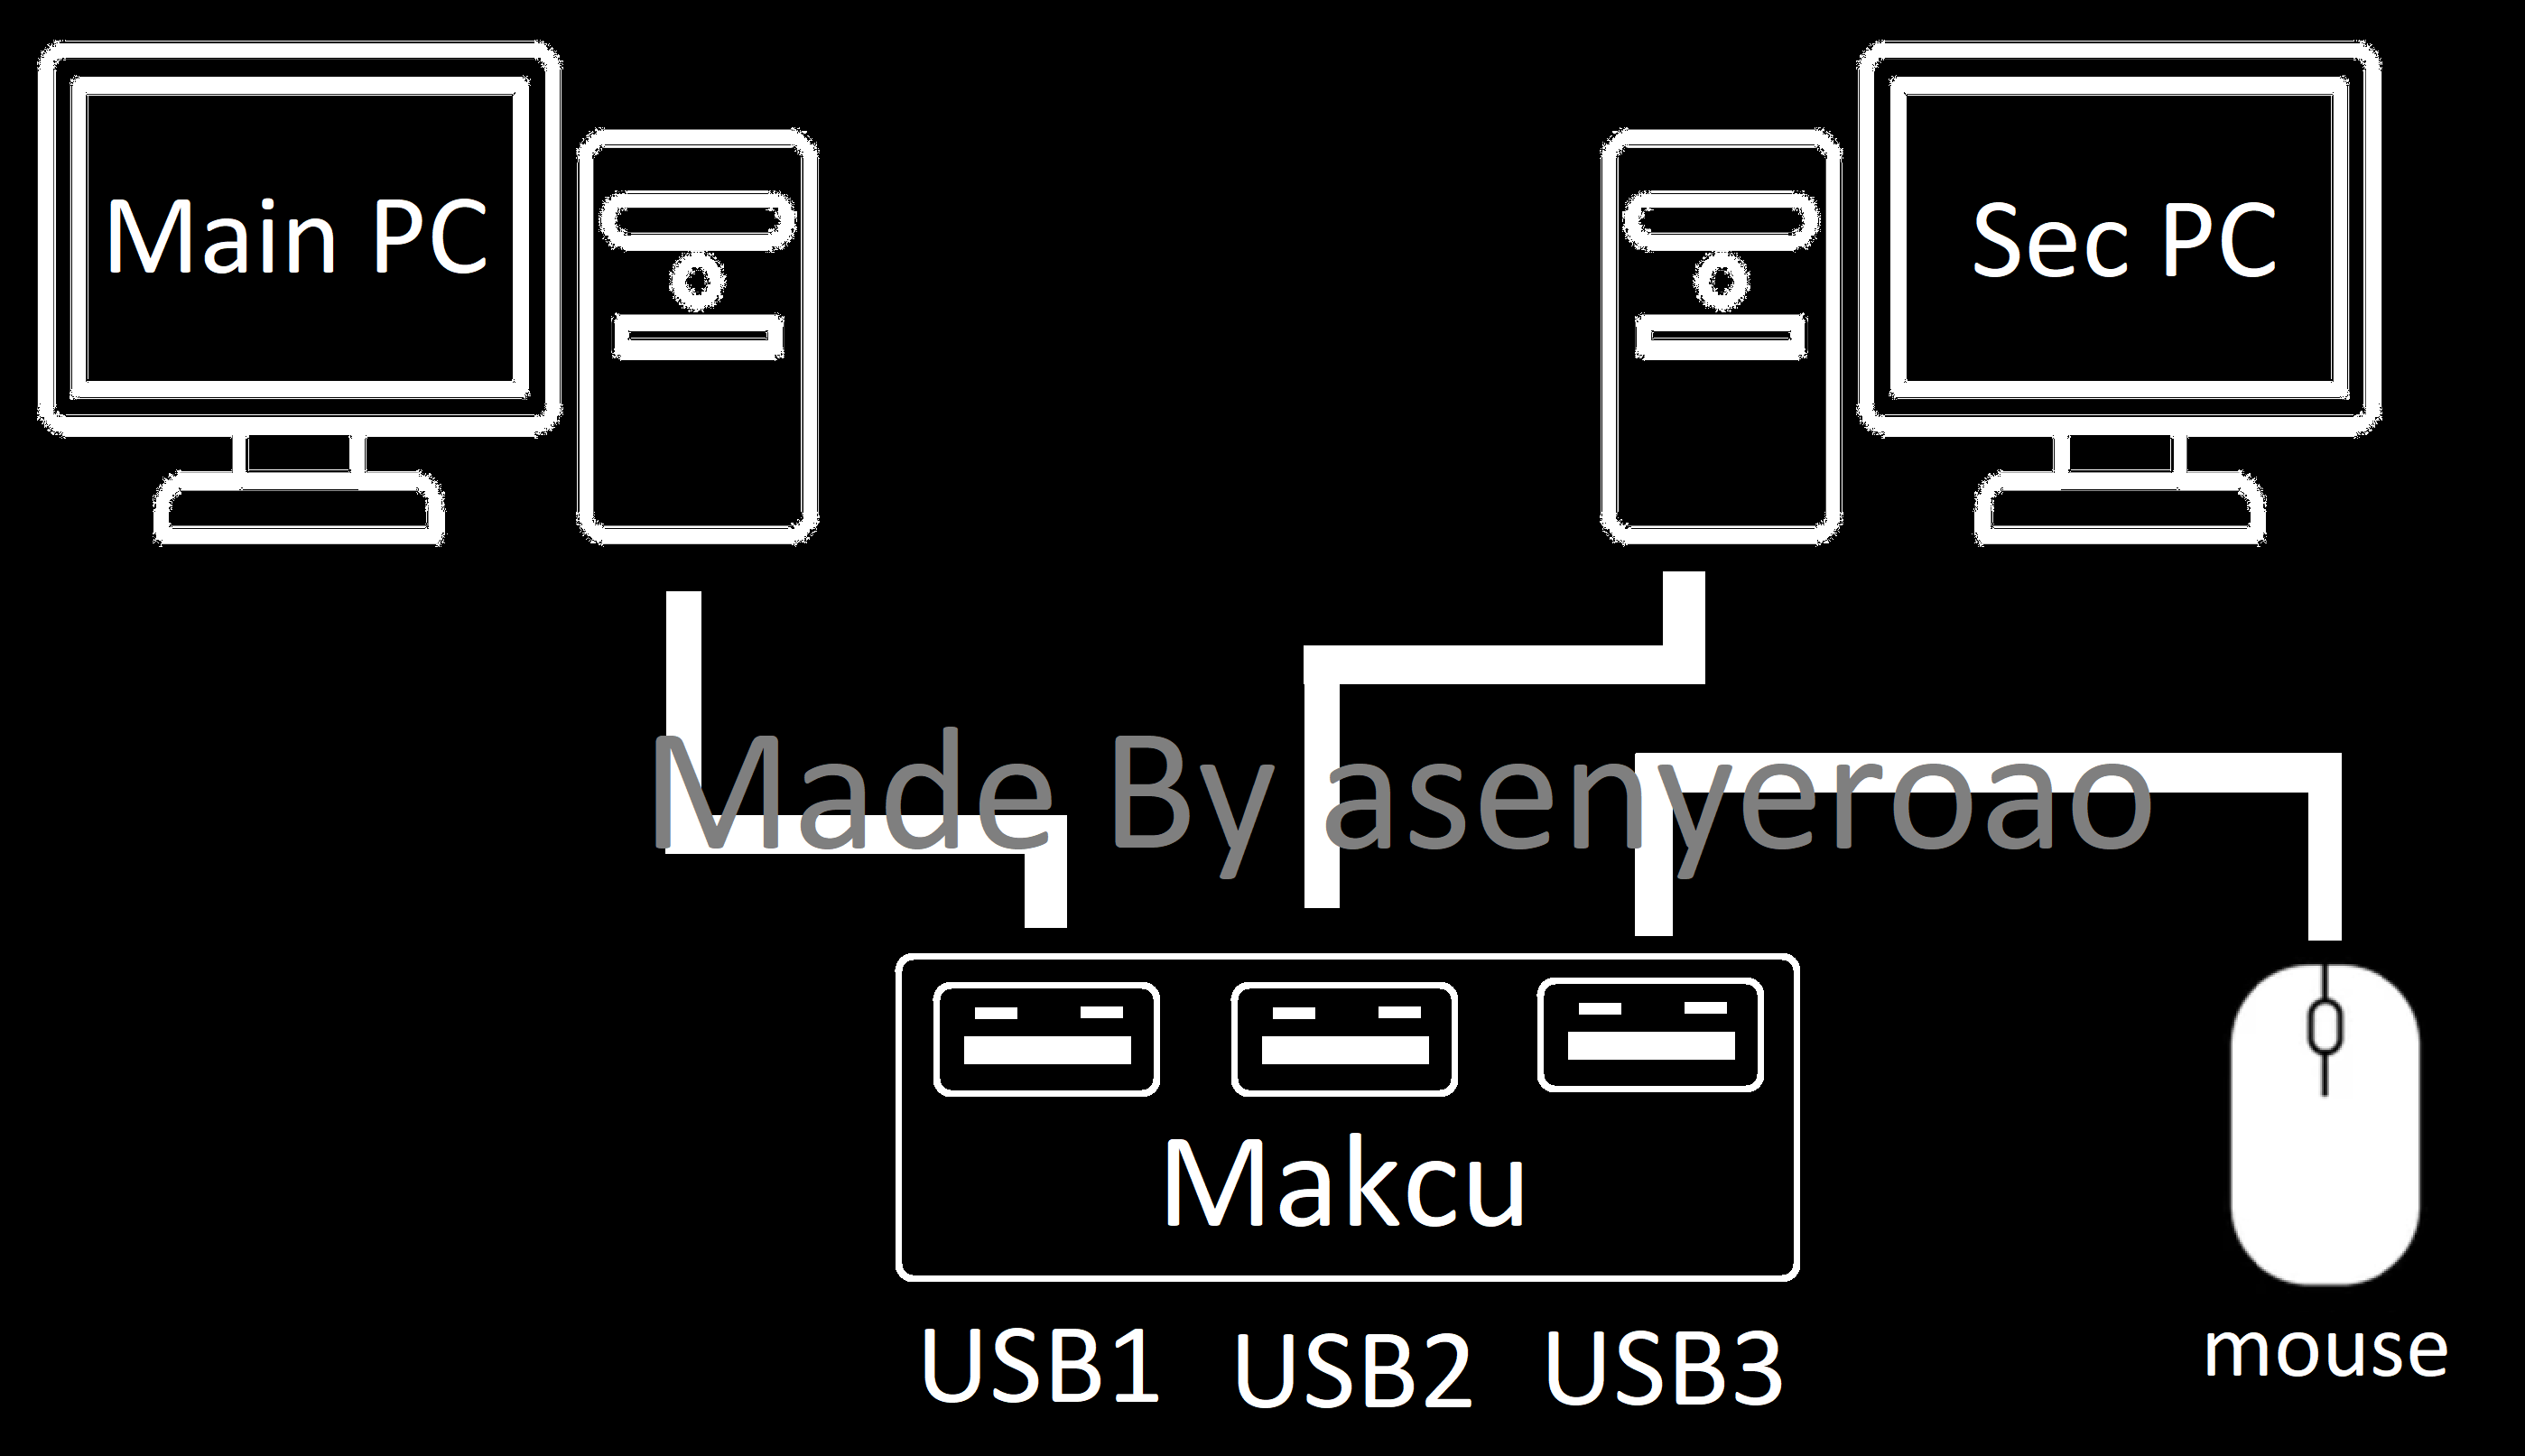
Prerequisites
- MAKCU device connected and recognized by Windows.
- Correct USB/serial driver installed.
- CVM has permission to access serial devices.
CVM Configuration
- Open
Generaltab. - For standard MAKCU, set
Input APItoSerialfirst. - If your device is
3.8 left (firewall)firmware ormakxdV2, setInput APItoMakV2Binary. - Set
Port (optional)(makv2_port) to a fixed COM port (recommended), for exampleCOM5. - Set
Baud(makv2_baud) to your firmware target. - Enable
Auto Connect Mouse API On Startupafter one successful manual connect.
Recommended Starting Values
Input API: useSerialfor standard MAKCU; useMakV2Binaryfor3.8 left (firewall)/makxdV2makv2_port: leave empty for auto-detect first, then lock to fixed COM after validationmakv2_baud:4000000auto_connect_mouse_api:falseduring first setup, thentrue
Validation Checklist
- CVM can connect to MAKCU without timeout.
- Micro movement test is smooth and directional.
- Reopen CVM and reconnect successfully with same settings.
Troubleshooting
- Cannot connect:
- Check COM port in Device Manager.
- Close other software that may occupy the serial port.
- If
Serialfails, verify driver/port first, then switch by firmware type toMakV2BinaryorMakV2. - Movement jitter:
- Recheck baud rate and firmware compatibility.
- Use high-quality USB cable and avoid USB hubs.
- Port changes every reboot:
- Bind device to a fixed USB port and lock
makv2_port.
Private Parameters to Fill
Replace with your team-specific values from Notion if required:
- Exact MAKCU firmware version mapping
- Required API mode (
Serial/MakV2/MakV2Binary) - Approved baud values per firmware line